Easy Tandoori Style Chicken Breast

Easy Chicken Breast Tikka Masala

Happy Monday! We hope you had a nice and relaxed (or crazy if you’re in to that sort of thing) weekend!

Easy Chicken Breast Tikka Masala

Tandoori Style Chicken Breast 

Ingredients

  • 1 cup Plain Greek Yogurt
  • 1 ½ tablespoons  Garam Masala Seasoning
  • 1 teaspoon of garlic powder
  • 1 teaspoon turmeric
  • Squeeze of lemon
  • Salt
  • Pepper
  • 4 Boneless, Skinless, Chicken Breasts

Step 1:

Rinse and pat your chicken dry using paper towels.

Step 2:

In a medium bowl, mix together your yogurt, Masala seasoning, garlic powder,  lemon and turmeric.

Step 3:

Liberally season both sides of your chicken with salt and pepper.

Step 4:

Pour your marinade into Ziplock bag, and then place the chicken in the bag. Seal and allow to marinate for AT LEAST an hour. The longer it sits in the yogurt, the more flavor it will take on.

Step 5:

When you’re ready to cook the chicken, take the chicken out of the oven, and then preheat your oven to 350°F.

Place the chicken on a baking tray. Cook for 20 minutes.

Step 6:

Remove the chicken and turn the oven to broil. Place the chicken back into the oven and cook for another 3 to 5 minutes.

Step 7:

Remove from the oven, and serve over your favorite rice and vegetable.


Easy Chicken Breast Tikka Masala

Easy Chicken Breast Tikka Masala


Throwback Thursday: Zucchini and Onion Rice Bowl

It’s that time of the week, Throwback Thursday Recipe Edition! And today, we’re going back to our first month of posting to one of our favorites. Another healthy but  scrumptious recipe, Zucchini and Onion Rice Bowl!

16905676312_160419709f_z

What inspired this recipe was what could you do with all that left over rice you have from Chinese food and when you make too much at dinner. And honestly, reheated rice isn’t all that great, but add it with some veggies and soy sauce? Yum.

This is probably one of the simplest things you can make because it only has 5 or so ingredients. It’s flavorful, healthy, and friendly for those who don’t like meat! Obviously, you don’t have to use leftover rice, you’re allowed to make fresh rice! It’s all about what you have in your fridge and what you want to use.

Click here for this recipe, and remember if you like our recipes, subscribe, like, share, and follow.

Kick Ass Turkey Chili

It’s hump day! And what better way to celebrate than with a healthy and quick meal to get you over the Wednesday Blues. This meal is super simple, and super delicious. It’s also packed full of flavor, protein, and all the good stuff to keep you full and satiated. And Chili is always better the next day, so this is the perfect meal that can be stretched over a few days!

It may seem like a lot of work, especially given the amount of ingredients, but most of the prep and work comes from chopping. So don’t be scared! And if you’re really that lazy, you can always buy most of the ingredients already chopped! But for us, personally, chopping is very therapeutic.

Kick Ass Turkey Chili

Kick Ass Turkey Chili

Kick Ass Turkey Chili

Ingredients

  • 2 pounds Ground Turkey
  • 1 medium Onion (Chopped)
  • 1 jalapeño (chopped and deseed)
  • 1 yellow bell pepper (chopped)
  • 1 red bell pepper (chopped)
  • ½ cup green onions
  • 1 28oz cans diced tomatoes
  • 2 10oz cans Rotell tomatoes
  • 1 4oz can green chilies
  • 1 package of Chili Seasoning
  • 1 tablespoon chili power
  • 1 teaspoon sriracha seasoning (or Cayenne)
  • ½ teaspoon cinnamon
  • 1 can kidney beans
  • 1 can white beans
  • 3 cups frozen corn
  • olive oil
  • 1 bottle of beer
  • Worchestire

Step 1:

In a large Dutch oven or cast iron pot, heat two tablespoon of olive oil. When the oil is good and hot, throw in your diced onion and cook for two minutes.

Kick Ass Turkey Chili

Step 2:

If needed, add another tablespoon of olive oil and add your turkey. Season liberally with kosher salt and pepper.

This is the only time to season the meat, don’t be afraid. Especially with turkey. We like to add a little of sprinkle of cinnamon to the meat while it browns. It adds a real nice depth of flavor.

Kick Ass Turkey Chili

Step 3:

Next, add the beer and a couple splashes of worchestire and allow the meat to cook in the beer. Cook until the majority of the liquid has cooked off.

Step 4:

Add the bell peppers, jalapenos, and green onions. Mix and cook for a minute.

Step 5:

Add the tomatoes, green chilies, beans and assorted seasonings. Stir and bring to a boil. Then lower and cook for at least two hours.

Kick Ass Turkey Chili

Step 6:

Add the frozen corn and allow to warm for 3 to 5 minutes.

Step 6:

At this point, taste and adjust the seasoning by adding salt and pepper. Serve with freshly chopped onions, sour cream, and cheese. Enjoy!

* Technically, it can be served once the meat is cooked, but we highly recommend letting it cook and all the flavors meld together. Trust us.

Kick Ass Turkey Chili

Kick Ass Turkey Chili


Like our recipes? Don’t forget to like, follow, subscribe, and share!


Pecan Pie

Southern Pecan Pie

Okay, so we totally flaked and missed the most important day of the year, Pi(e)Day, but have no fear we have the most amazing and perfect Pecan Pie recipe to make up for it. Now normally, most food blogs would reserve this recipe for Fall/Thanksgiving but here at TYL we love to mix it up and we like comfort foods all year long.

And we LOVE pie. Pie should really be it’s own food group, big pies, small pies, fruit pies, savory pies, pot pies, chocolate pies, whipped pies, creme pies, nut pies, hand pies, even quiche(the clothing optional pie)! And we’re sorry we haven’t posted more pie recipes, but the year is still young, so give us time. But until then, lets talk about Pecan Pie.

Pecan Pie is a pie staple. For most, Pecan Pie is a Southern Staple, but did you know that people believe Pecan Pie originated when the French moved from France to New Orleans and were introduced to the Pecan Nut by Native Americans. Pecan Pie is similar to a Chess Pie which is also a butter, sugar, egg-custard based pie. There are some reports, that have Pecan Pie type recipes as early as the 1800’s, but it’s hard to prove. It wasn’t until the 40’s when the Joy of Cooking finally included the recipe in one of it’s cookbooks.

Pecan Pie is known for being gooey, ooey, and delicious. Sometimes coyling sweet, but if done right, Pecan Pie is the perfect ending to any meal (or beginning if you swing that way) and the trick to keeping your Pecan Pie together? Cornstarch. A little cornstarch  goes a long way in keeping the shape of your Pecan Pie.


Southern Pecan Pie


Pecan Pie

Ingredients

  • 1 Cup Dark Corn Syrup
  • 3 Large Eggs
  • 1/2 Cup Dark Brown Sugar
  • 1/2 Cup Bakers Sugar
  • 1/2 Teaspoon Maple Extract
  • 1 Teaspoon Vanilla Paste (or extract)
  • 2 Cup Pecans
  • 1 Teaspoon Corn Starch
  • 1 Unbaked Pie Crust (Store bought

Step 1:

Preheat your oven to 350°F.

Step 2: 

In a medium bowl, mix together corn syrup, eggs, sugars, and extracts. Mix well and set aside.

Southern Pecan Pie

Step 3: 

Place the pecans in a sauté pan. Toast them over medium heat for one to two minutes, but be careful not to burn them.

If you want, you can lightly sprinkle them with cinnamon for extra added flavor.

Southern Pecan Pie

Step 4: 

Next, carefully chop the nuts. You just want to roughly chop them so you still have chunks of pecans.

Step 5: 

Toss the pecans with the corn starch. This will really help the pie solidify, and not be runny.

Step 6: 

Add the chopped pecans to the corn syrup mixture. Mix until the pecan are fully incorporated.

Southern Pecan Pie

Step 7: 

Pour the mixture into the prepared pie shell.

Southern Pecan Pie

Southern Pecan Pie

Step 8

Bake the pie for 65 to 70 minutes. Remove from the oven and cool on a wire rack completely!

Southern Pecan Pie

Step 9:

This is important. As much as we all want delicious warm pie, a pecan pie is best served completely cool and by doing this will make it so much easier to cut!

Southern Pecan Pie

Like our recipes? Don’t forget to subscribe, share, and like.

Chicken Lettuce Boats

Poultry Lettuce Boats

It’s our one year anniversary! A year ago today we posted our very first recipe! How crazy is that?

Today we are sharing one of our favorite healthy and tasty recipes, Lettuce Boats! If you really hate lettuce, you can always substitute the lettuce for tortillas or whatever, but at least try this healthy alternative! As we like to say they are bomb diggity. Healthy, filling, and delicious! Packed full of protein, texture, crunch and they’re totally guilt free.

Celebrate our one year anniversary with us by eating well and making these mouth watering lettuce boats!

Poultry Lettuce Boats

Poultry Lettuce Boats

Lettuce Boats

  • 1 pound ground Turkey or Chicken
  • 4 cloves garlic, minced
  • 1 large carrot or 10 baby carrots
  • 1 small onion, chopped
  • 1 tablespoon grated fresh ginger
  • 2 tablespoons soy sauce (a few splashes for meat seasoning)
  • 2 tablespoons rice wine vinegar
  • 1 teaspoon sesame oil
  • 2 teaspoons sriracha sauce
  • 3-4 green onions, chopped
  • 1/2 lb of mushrooms
  • 1/4 cup hoisin sauce
  • Salt & Pepper
  • Lettuce (either romaine for boats or butter lettuce for cups)

Sauce

  • 1/4 cup of hoisin
  • 2 tablespoons soy sauce
  • 1/2 teaspoon sesame oil
  • 2 tablespoons mustard

Step 1:

Heat oil in a large pan over medium heat. Start browning the ground meat and add a few dashes of soy sauce for seasoning.

Step 2:

Once the meat is half way, add the garlic, chopped onions, and carrots. Incorporated it well.

Step 3:

Grate ginger into the pan, also add: soy sauce, rice wine vinegar, sesame oil, and sriracha.

Step 4:

In a small saucepan, heat some more oil to sauté the mushrooms and green onions. Season with salt and pepper.

Step 5:

After you sauté the mushrooms and green onions, add them to the pan with the meat and give everything a good mix.  Taste and adjust any seasonings from here.

Step 6:

Sauce: soy sauce, hoisin, sesame oil, and a mustard of your liking. We chose Coleman’s English mustard because its one of our favorites, but you can also choose dijon, spicy or even just regular yellow mustard.

Step 7:

Serve with lettuce as a vehicle for the meat to your mouth!

Poultry Lettuce Boats

Poultry Lettuce Boats

Adapted from Bobbi’s Kozy Kitchen.

Cinnamon Banana Bread

Cinnamon Banana Bread

Cinnamon Banana Bread

Hello! Did you miss us? We missed you. We’re truly sorry for sort of falling of the face of the earth for the month of February. And January. Moving and adjusting to a new space is our biggest problem, but we really are back. We mean it.

And the best way to kick off being back is to give you our recipe for Cinnamon Banana Bread. Cinnamon and Bananas? What? That sounds weird. Trust us though, it’s not. The cinnamon and banana pair perfectly together and create a mouthwateringly delicious take on Banana Bread. It tastes like getting a warm cinnamon hug from Paula Deen.

TYL Tip: This banana bread is perfect for making French Toast. It’s really mild and goes perfectly with the flavors of French Toast, which if you’re like us, you love cinnamon-y French Toast this is the most perfect combo!

Cinnamon Banana Bread

Ingredients 

  • 1 Stick Butter (Softened)
  • 1/2 Cup Dark Brown Sugar
  • 1/2 White Sugar
  • 3 Bananas (Very ripe, mashed and a dash of salt)
  • 2 Large Eggs (Room Temperature)
  • 2 Cups AP Flour
  • 2 Tablespoons Cinnamon
  • 1 Teaspoon Baking Soda
  • 1 Teaspoon Salt
  • 1/2 Cup Buttermilk

Step 1: 

Preheat your oven to 325°F.

Step 2: 

In a stand mixer fitted with a paddle attachment (or using a hand mixer) cream the sugars and butter together.

Step 3: 

Next, add the mashed bananas and mix.

Step 4: 

Add in the eggs and combine.

Step 5: 

In a small separate bowl, mix together the flour, baking soda, salt and cinnamon.

Step 6: 

Next, add the flour mixture and the buttermilk alternatively to the creamed mixture. You want to always start and end with your dry mixture.

Remember to mix the them in on a low speed or mix it in by hand. Mix until everything is combined.

Step 7: 

Divide the batter evenly between two greased loaf pans.

Step 8: 

Bake for 35 to 40 minutes or until a toothpick comes out clean.

Step 9: 

Allow to cool for 10 minutes in the pan and then remove the bread from the loaf pan to finish cooling.

Cinnamon Banana Bread

Cinnamon Banana Bread

Remember, if you like our recipes…don’t forget to like, share and subscribe! Thank you!

Traditional Tiramisu

Tiramisu trifle

Tiramisu trifle

Traditional Tiramisu

Hello All! It’s February! We have a lot of big things in the work, and we once again apologize for the lack of updates and recipes. But trust us, big things are coming. We have a lot in the works, and are working to make everything come together so we can share and grow Two Young Ladies.

But let’s get on to the good stuff.  Recipes! And today’s recipe is not only one of our favorites, it’s a real crowd pleaser. The recipe actually comes from our travels overseas two years ago to Europe. We started in Italy (Venice, Florence, Rome), then went to Barcelona, and ended up in London.

During our time in Rome, we went to the cutest little restaurant near the Catacombs. And while we were there with our tour group, we had the most amazing Tiramisu. And after a little sweet talking, we were able to get a general idea of what the recipe was, and now we’re able to share it with you.

While we chose to make our Tiramisu into a trifle, you’re more than welcome to make it in the traditional form. Either a 8×8 pan or 13×9 pan, it’s really up to you and how your want to layer it and how much you have. You can even do it in individual cups to be fancy!

Traditional Tiramisu

Traditional Tiramisu

Here’s a photo of us, in Roma, with our tour director, Andrea. We love him, and hope to go back to Italy to see him soon!

Roma

Tiramisu

Ingredients

  • 2-223g containers of Mascarpone
  • 6 eggs (yolks and whites separated)
  • 2-3 packages of lady fingers
  • 4 tablespoons sugar
  • 4 tablespoons unsweetened cocoa
  • brewed espresso (1 1/2 cup or 12 oz. water and 2 tablespoons of ground espresso)
  • 2 oz Kaluha

Step 1:

Leave Mascarpone out to come to room temperature, completely.

Tiramisu trifle

Step 2:

Then brew espresso and let it cool. When cool add a tablespoon of cocoa and 2 oz Kaluza. Mix and set aside.

Tiramisu trifle

Tiramisu trifle

Step 3:

Separate the eggs into different bowls. One of whites and one for yolks.

Tiramisu trifle

While separating eggs in the egg shell looks pretty (cause all the pros do that way) we recommend separating with your hands. SO. MUCH. EASIER.

Step 4:

In a stand mixer fitted with the whisk attachment, put in your egg whites and whisk on a medium speed. When the whites start to stiffen, add a tablespoon of sugar, and continue to beat until stiff peaks. Do NOT OVER BEAT.

Tiramisu trifle

Tiramisu trifle

Another tip, a lot of recipes says it only takes “a minute or so” for the egg whites to whip up, we think it depends on the machine. Our stand mixer definitely takes at least five minutes to get to stiff peaks. Don’t be alarmed if it doesn’t happen right away.

Step 5:

While the whites are working, whisk the egg yolks until their air rated. Add the remaining 3 tablespoons of sugar to the yolks and whisk until it’s fluffy.

Step 6:

To the yolk mixture, add the mascarpone and incorporate it with the yolks and sugar. Let it be creamy. Add vanilla.

Tiramisu trifle

Tiramisu trifle

Step 7:

Fold egg whites into mascarpone/yolks mixture. Be gentle. It’s best to fold the whites into the mixture in thirds.

Tiramisu trifle


Tiramisu trifle

Step 8:

In a shallow baking dish, put the espresso/cocoa/kaluha mixture. Lightly dip the lady fingers in. Don’t get too wet otherwise it will disintegrate.

Tiramisu trifle

(We apologize for the blurry photos, we’re still figuring out not only our new camera, but the lighting in our cave like apartment)

Step 9:

Layer lady fingers, fluffy creamy mixture and repeat.

Tiramisu trifle

Tiramisu trifle

Step 10:

Dust unsweetened cocoa over the top. Serve and enjoy!*

Tiramisu trifle

Tiramisu trifle

Traditional Tiramisu

Traditional Tiramisu

*For this particular recipe, we choose to make a simple whipped cream, and make that the last layer/topping. You’re more than welcome to do that, or leave it and serve it the traditional way.

Chocolate Pecan Blondies

Chocolate Pecan Blondies

Chocolate Pecan Blondies

It’s Hump Day! And the only way to get through hump day? Blondies filled with toasted pecans and chocolate chips, these will melt in your mouth and make you feel like it’s Friday!

Blondies are basically a cookie that are made in a brownie pan, and give you a nice change of pace from the normal cookie or brownie. These blondies have claimed they have more fun than brownies, but there’s room for everyone in our hearts!

Chocolate Pecan Blondies

Ingredients

  • 2 Sticks Butter (Salted, Room Temperature)
  • 1 Cup Dark Brown Sugar ( Tightly Packed)
  • 1/2 Cup Bakers Sugar
  • 1 1/2 Tablespoons Vanilla Paste
  • 2 Extra Large Eggs (Room Temperature)
  • 2 Cups AP Flour
  • 1 Teaspoon Baking Soda
  • 1 Teaspoon Kosher Salt
  • 1  Cup Pecans (Chopped)
  • 1 Cup Chocolate Chips

Step 1: 

Preheat your oven to 350°.

Step 2: 

In a stand mixer or medium bowl using a hand mixer beat together the butter, and sugars on high until light and fluffy, about 3 minutes.

Chocolate Pecan Blondies

Chocolate Pecan Blondies

Step 3: 

Next, add the vanilla paste on a low speed.

Step 4: 

Add the eggs (one at a time) making sure your scrape down the sides of the bowl after adding each egg.

Chocolate Pecan Blondies

Step 5:

In a separate and small bowl, sift together the flour and baking soda. Then mix in the salt.

With the mixer on low, add the flour mixture in batches until fully incorporated.

Chocolate Pecan Blondies

Chocolate Pecan Blondies

Step 6: 

Finally, fold in the chocolate chips and pecans.

Chocolate Pecan Blondies

Chocolate Pecan Blondies

Chocolate Pecan Blondies

Step 7: 

Spray and 8×11 pan with baking spray then evenly spread out the blondie batter. Cook for 30 minutes.

Chocolate Pecan Blondies

Chocolate Pecan Blondies

Allow to cool completely then cut into 12 perfect squares, or just eat it. Who cares about cutting equal pieces?

Chocolate Pecan Blondies

Chocolate Pecan Blondies

Chocolate Pecan Blondies

Chocolate Pecan Blondies

Recipe adapted from The Queen

Throwback Thursday: Breakfast Oatmeal Cookies

Hey guys, what a week. First we lose David Bowie, and now Alan Rickman? And let’s not forget Lemmy Kilmister and Natalie Cole. A very sad start to 2016.

On a lighter and happier note, we have a sweet and delicious start to your Thursday, with our second Throwback Thursday recipe: Breakfast Oatmeal Cookies! These cookies are like eating your morning oatmeal in cookie form. Unfortunately, they’re not as healthy as normal oatmeal, but it’s just as delcious and who really cares. Live a little. Have a cookie for breakfast. We won’t tell if you won’t.

Breakfast Cookies

Remember, when making these cookies, under-bake them just a smidge for a gooey and delicious oatmeal texture. But better, because it’s in a cookie. And who doesn’t love cookies for breakfast.

CLICK HERE for this recipe. And remember if you like our recipes, subscribe, like, share, and you can find us on Facebook and Instagram!

americassweethearts

Enjoy!

Vanilla Cake with Blueberry Compote Filling and Lemon Curd Cream Cheese Frosting

Vanilla Cake with Blueberry Compote Filling and Lemon Curd Frosting

Hello and Happy New Year from Two Young Ladies! We’re sorry we’ve been MIA for awhile but you know how it gets at the end of the year? Things get crazy, but don’t think we forgot about our awesome followers. We’ve been testing and making tons of AMAZING recipes.

2015 was a great year, so much happened for both of us, and we’re truly, truly, excited to see what 2016 has in store for us and this blog. We have a ton of ideas, and things have been “cooking” for awhile. So stay tuned for what we have in store.

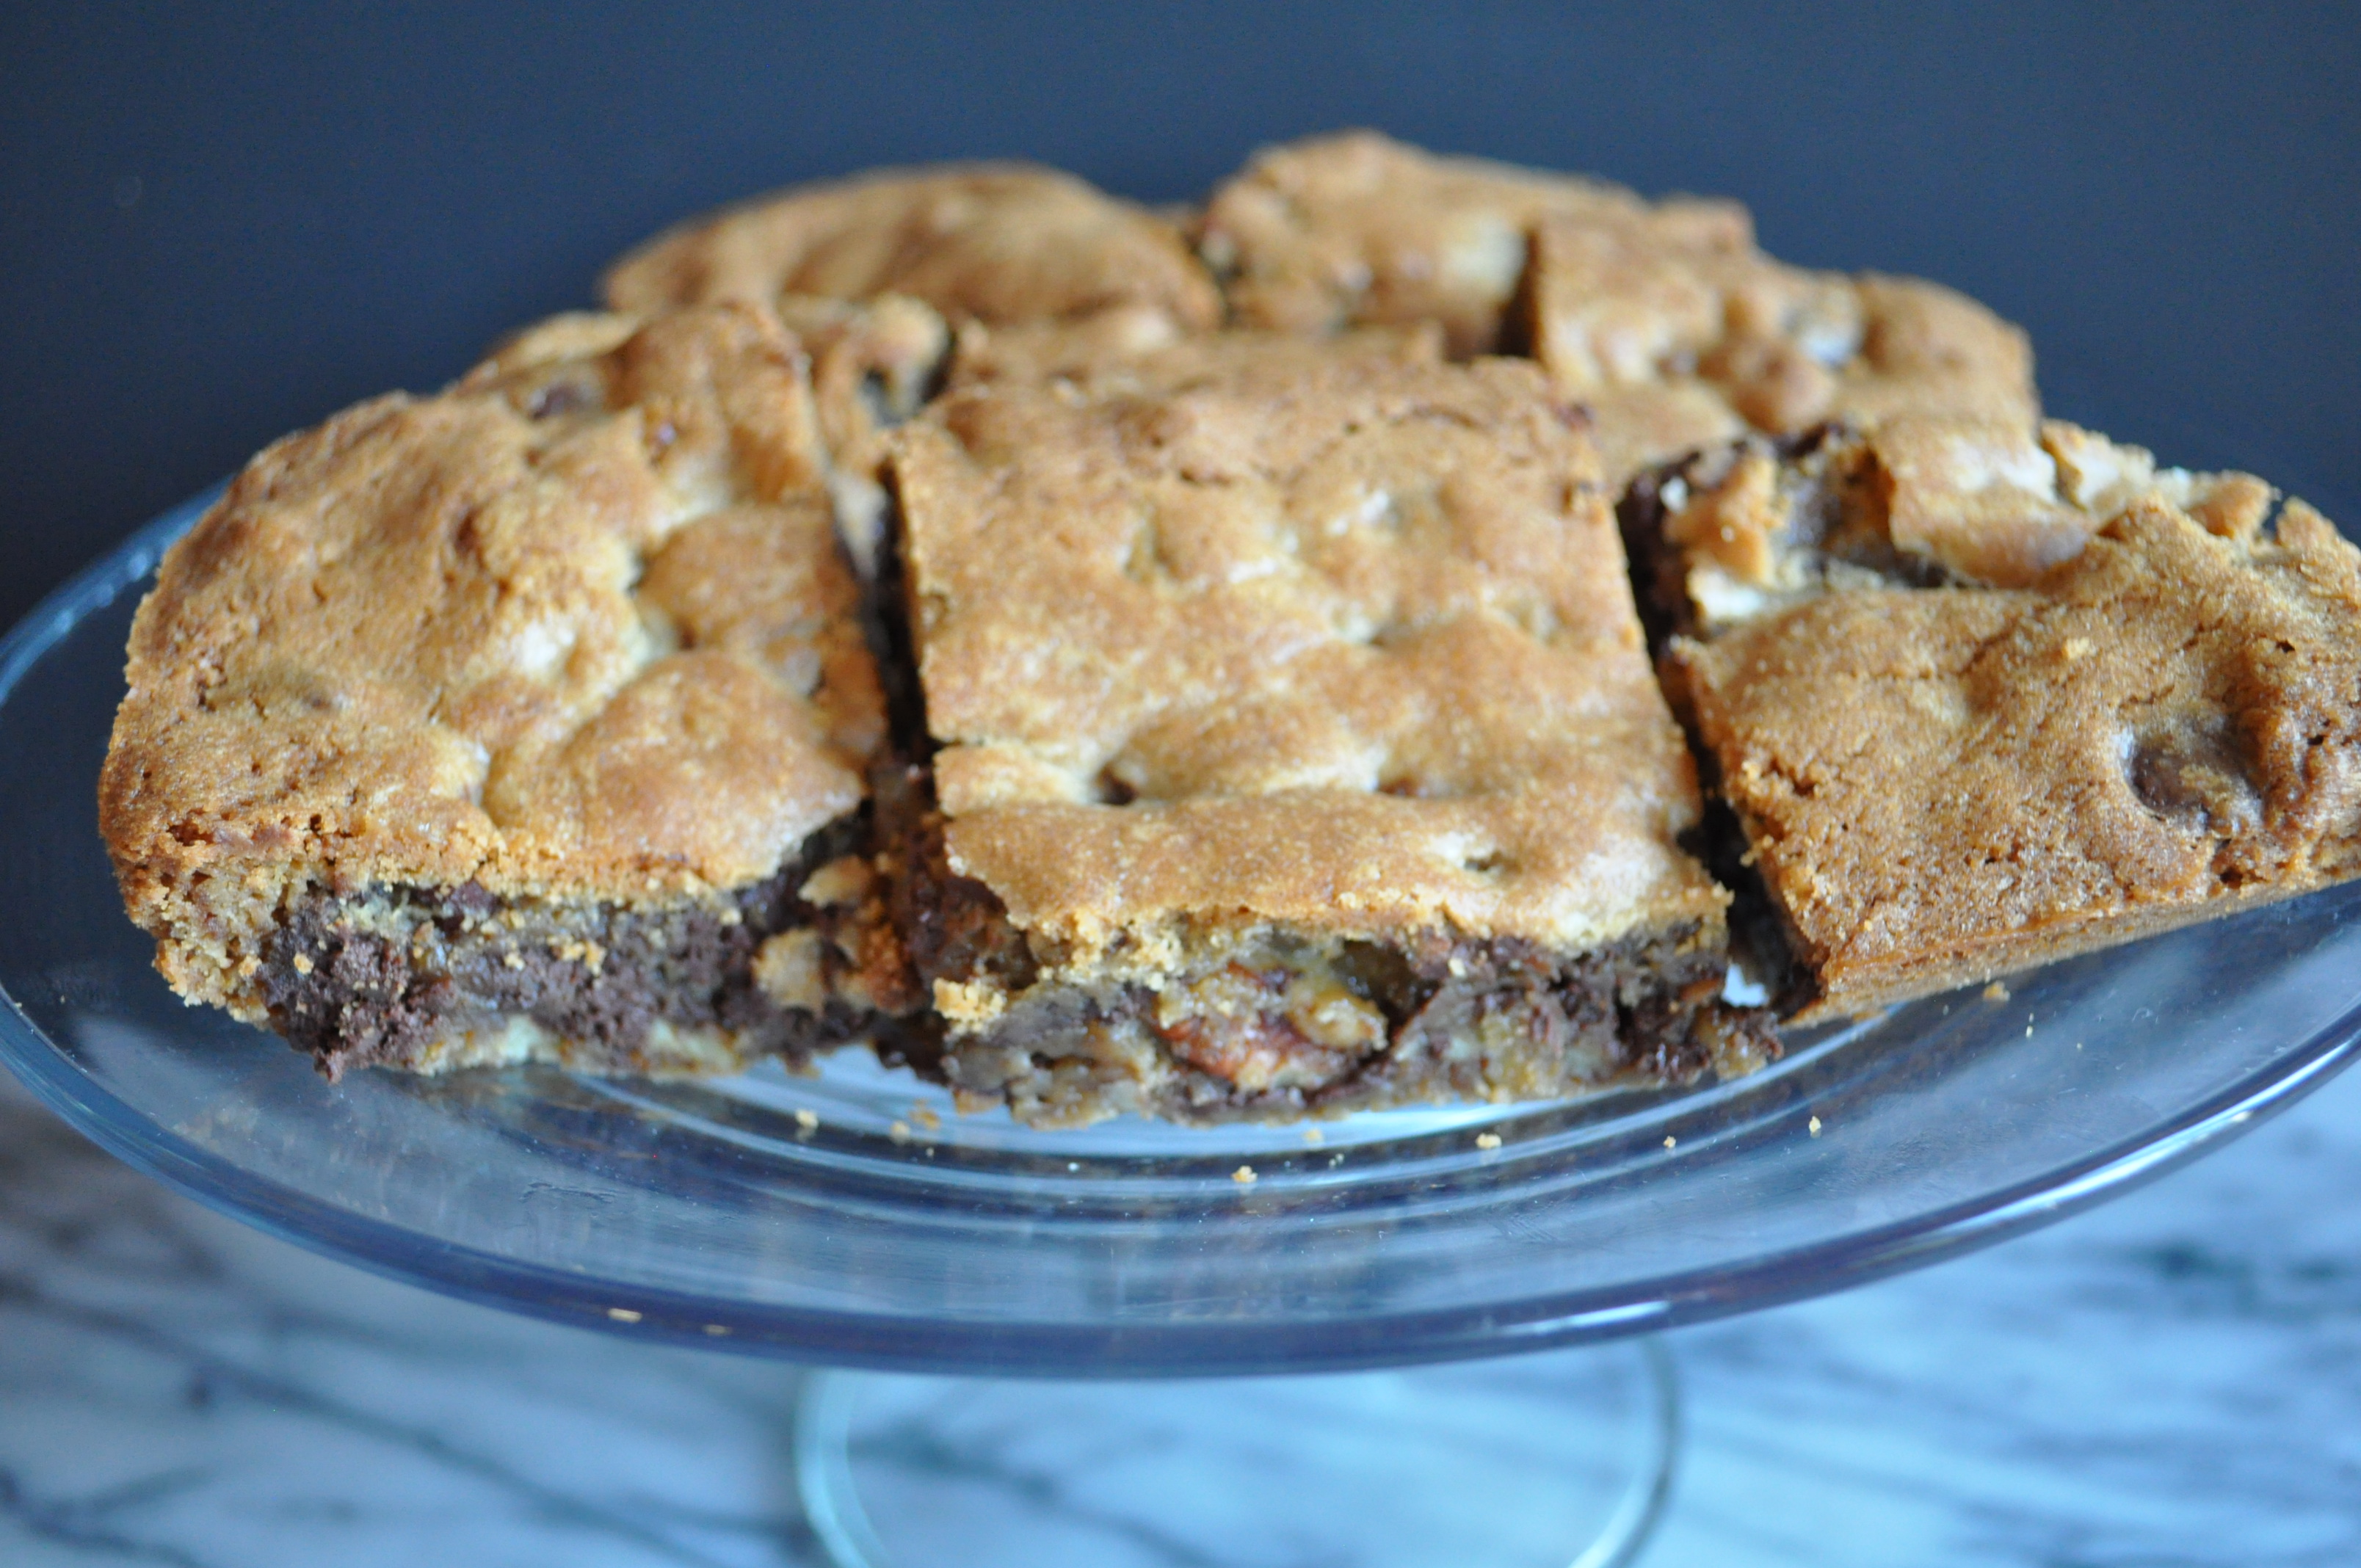
But onto the good stuff! A new recipe for a new year! We made this cake last year (LOL) when we had a surplus of blueberries. I mean, what better way to deal with tons of blueberries, then to make a delicious lemon and blueberry cake! This cake will please just about everyone, sweet blueberries mixed with that tart, yet sweet lemon? Our mouths are watering already!

Vanilla Cake with Blueberry Compote Filling and Lemon Curd Frosting

Vanilla Cake with Blueberry Compote Filling and Lemon Curd Frosting

Vanilla Cake with Blueberry Compote Filling and Lemon Curd Frosting

Vanilla Cake with Blueberry Compote Filling and Lemon Curd Frosting

Vanilla Cake with Blueberry Compote Filling and Lemon Curd Frosting 

Vanilla Cake:

  • 2 Sticks Salted Butter (Room Temperature)
  • 2 Cups Bakers Sugar
  • 4 Large Eggs (Room Temperature)
  • 1 1/2  Cake Flour**
  • 1 1/4 AP Flour
  • 2 Teaspoons Baking Powder
  • 1 Teaspoon Salt
  • 1 Cup Milk
  • 1 Tablespoon Vanilla Extract or Paste

Blueberry Compote: 

  • 1 18oz Container Fresh Blueberries
  • 1/2 Cup Orange Juice
  • 1/2 Cup White Sugar
  • 1/2 Teaspoon Vanilla Extract
  • 1/4 Teaspoon Cinnamon
  • 3 Tablespoons Cornstarch
  • 1/4 Cup Cold Water

Lemon Curd Frosting 

  • 3/4 Cup Lemon Curd
  • Two 8oz Packages of Cream Cheese (Regular)
  • 2 1/2 Cups Powdered Sugar
  • 1/4 Teaspoon Lemon Extract

To Make the Cake: 

Step 1: 

Preheat your oven to 350°.

Step 2: 

Grease (or spray) your 9 inch round cake pan.

We used a springform pan, but make sure your wrap the cake pan with aluminum foil so the cake doesn’t seep out.

If you don’t use springform pans and you grease with butter, don’ forget to flour and line the bottom with wax paper. You can also divide the cake batter between two cake pans as well.

Step 3: 

In a stand mixer fitted with a paddle attachment (or a large bowl using a hand mixer) cream the butter until smooth.

Step 4: 

Next, gradually add the sugar and beat until fluffy. About 3 minutes.

Vanilla Cake with Blueberry Compote Filling and Lemon Curd Frosting

Step 5: 

One at a time, add the eggs making sure to beat well after adding each egg.

Vanilla Cake with Blueberry Compote Filling and Lemon Curd Frosting

Vanilla Cake with Blueberry Compote Filling and Lemon Curd Frosting

TYL TIP: Lightly beat each egg before adding it to the mixture so you don’t have to end up over beating your batter! 

Step 6: 

In a separate medium sized bowl, combine the flours, salt, and baking soda. Mix well.

Vanilla Cake with Blueberry Compote Filling and Lemon Curd Frosting

Step 7: 

With the mixer on low, add the flour mixture in batches until combined.

Step 8: 

Next, add the milk and beat well.

Step 9: 

Mix in the vanilla until fully incorporated.

Vanilla Cake with Blueberry Compote Filling and Lemon Curd Frosting

Step 10: 

Pour the cake batter into your cake pan (or pans).

If you want to get fancy you can divide the batter among.

Step 11: 

Bake for 20 to 25 or until the middle is no longer jiggly and the cake tester comes out clean!

Let the cakes cool for ten minutes in the pans and then remove and let cool completely on a wire rack.

Vanilla Cake with Blueberry Compote Filling and Lemon Curd Frosting

(Almost perfect cake)

Blueberry Compote

Step 1: 

In a medium sauce pan, combine the blueberries, sugar, vanilla, cinnamon and orange juice. Bring to a boil.

Step 2: 

In a small bowl, mix together the cold water and cornstarch.

Step 3: 

Add the cornstarch mixture to the blueberries. Mix until combined.

Step 4: 

Cook over low heat until the mixture has thickened and coats the back of a spoon, about 3 to 4 minutes.

Step 5: 

Remove from the heat and and let cool to room temperature.

Lemon Curd Frosting

Step 1: 

In a medium bowl beat the lemon curd and cream cheese together until combined.

Step 2: 

Next add the powdered sugar and beat until smooth.

Step 3: 

Mix in the lemon extract.

TYL Tip: If you really want to punch up the lemon flavor at a the zest of one lemon! 

To Make the Cake: 

Step 1: 

If needed, evenly cut the cake and trim any unsightly bits.

Step 2: 

Take your frosting and frost one side of the cake. Working from the middle out.

Step 3: 

Next, add the blueberry compote, and again work from the middle out, spread the blueberry compote.

Vanilla Cake with Blueberry Compote Filling and Lemon Curd Frosting

Step 4: 

Samdwich the other piece of cake on top of the prepared side. Begin to frost the cake, and then enjoy!

Vanilla Cake with Blueberry Compote Filling and Lemon Curd Frosting

Vanilla Cake with Blueberry Compote Filling and Lemon Curd Frosting

Vanilla Cake with Blueberry Compote Filling and Lemon Curd Frosting

Vanilla Cake with Blueberry Compote Filling and Lemon Curd Frosting

Vanilla Cake with Blueberry Compote Filling and Lemon Curd Frosting

Vanilla Cake with Blueberry Compote Filling and Lemon Curd Frosting

Like our recipes? Don’t forget to like, subscribe, and share us! You can also find us on Facebook, Twitter, and Instagram!